

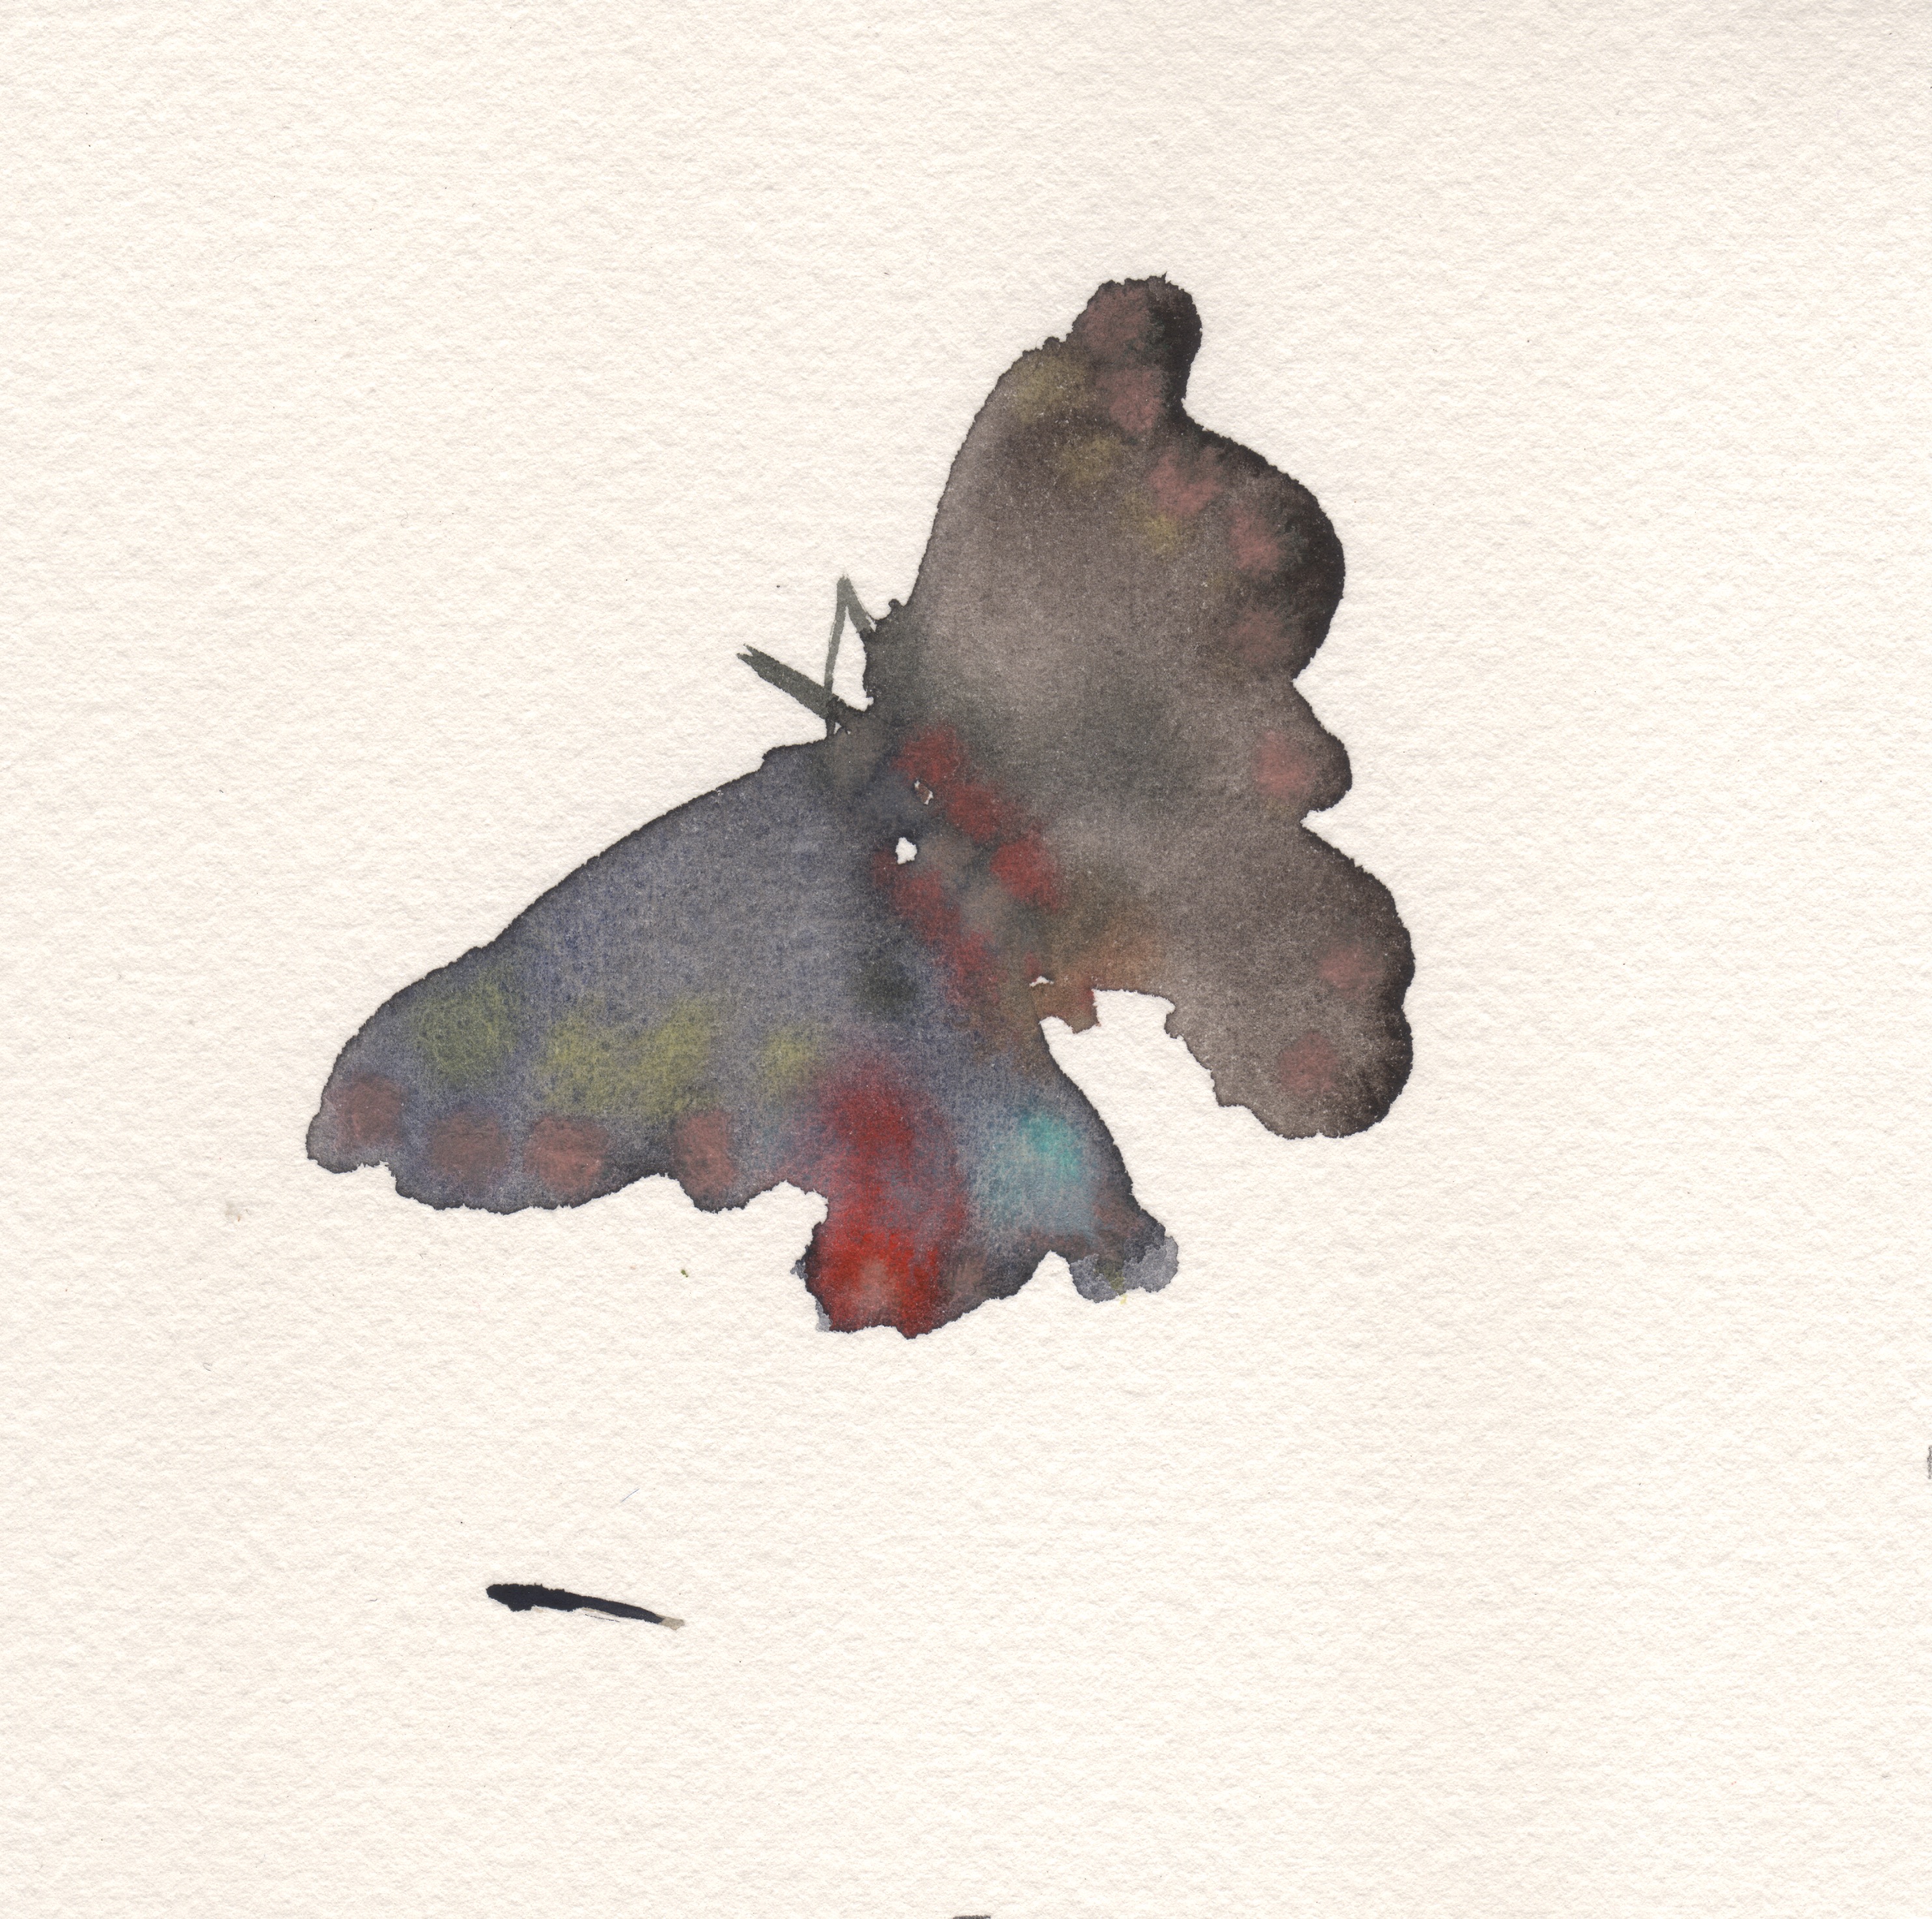
butterfly i found on my balcony – it was already dead and being eaten by a wasp before we took it inside so i can paint it
a shell chad found for me on his walk at the beach at his parents’ home in LI
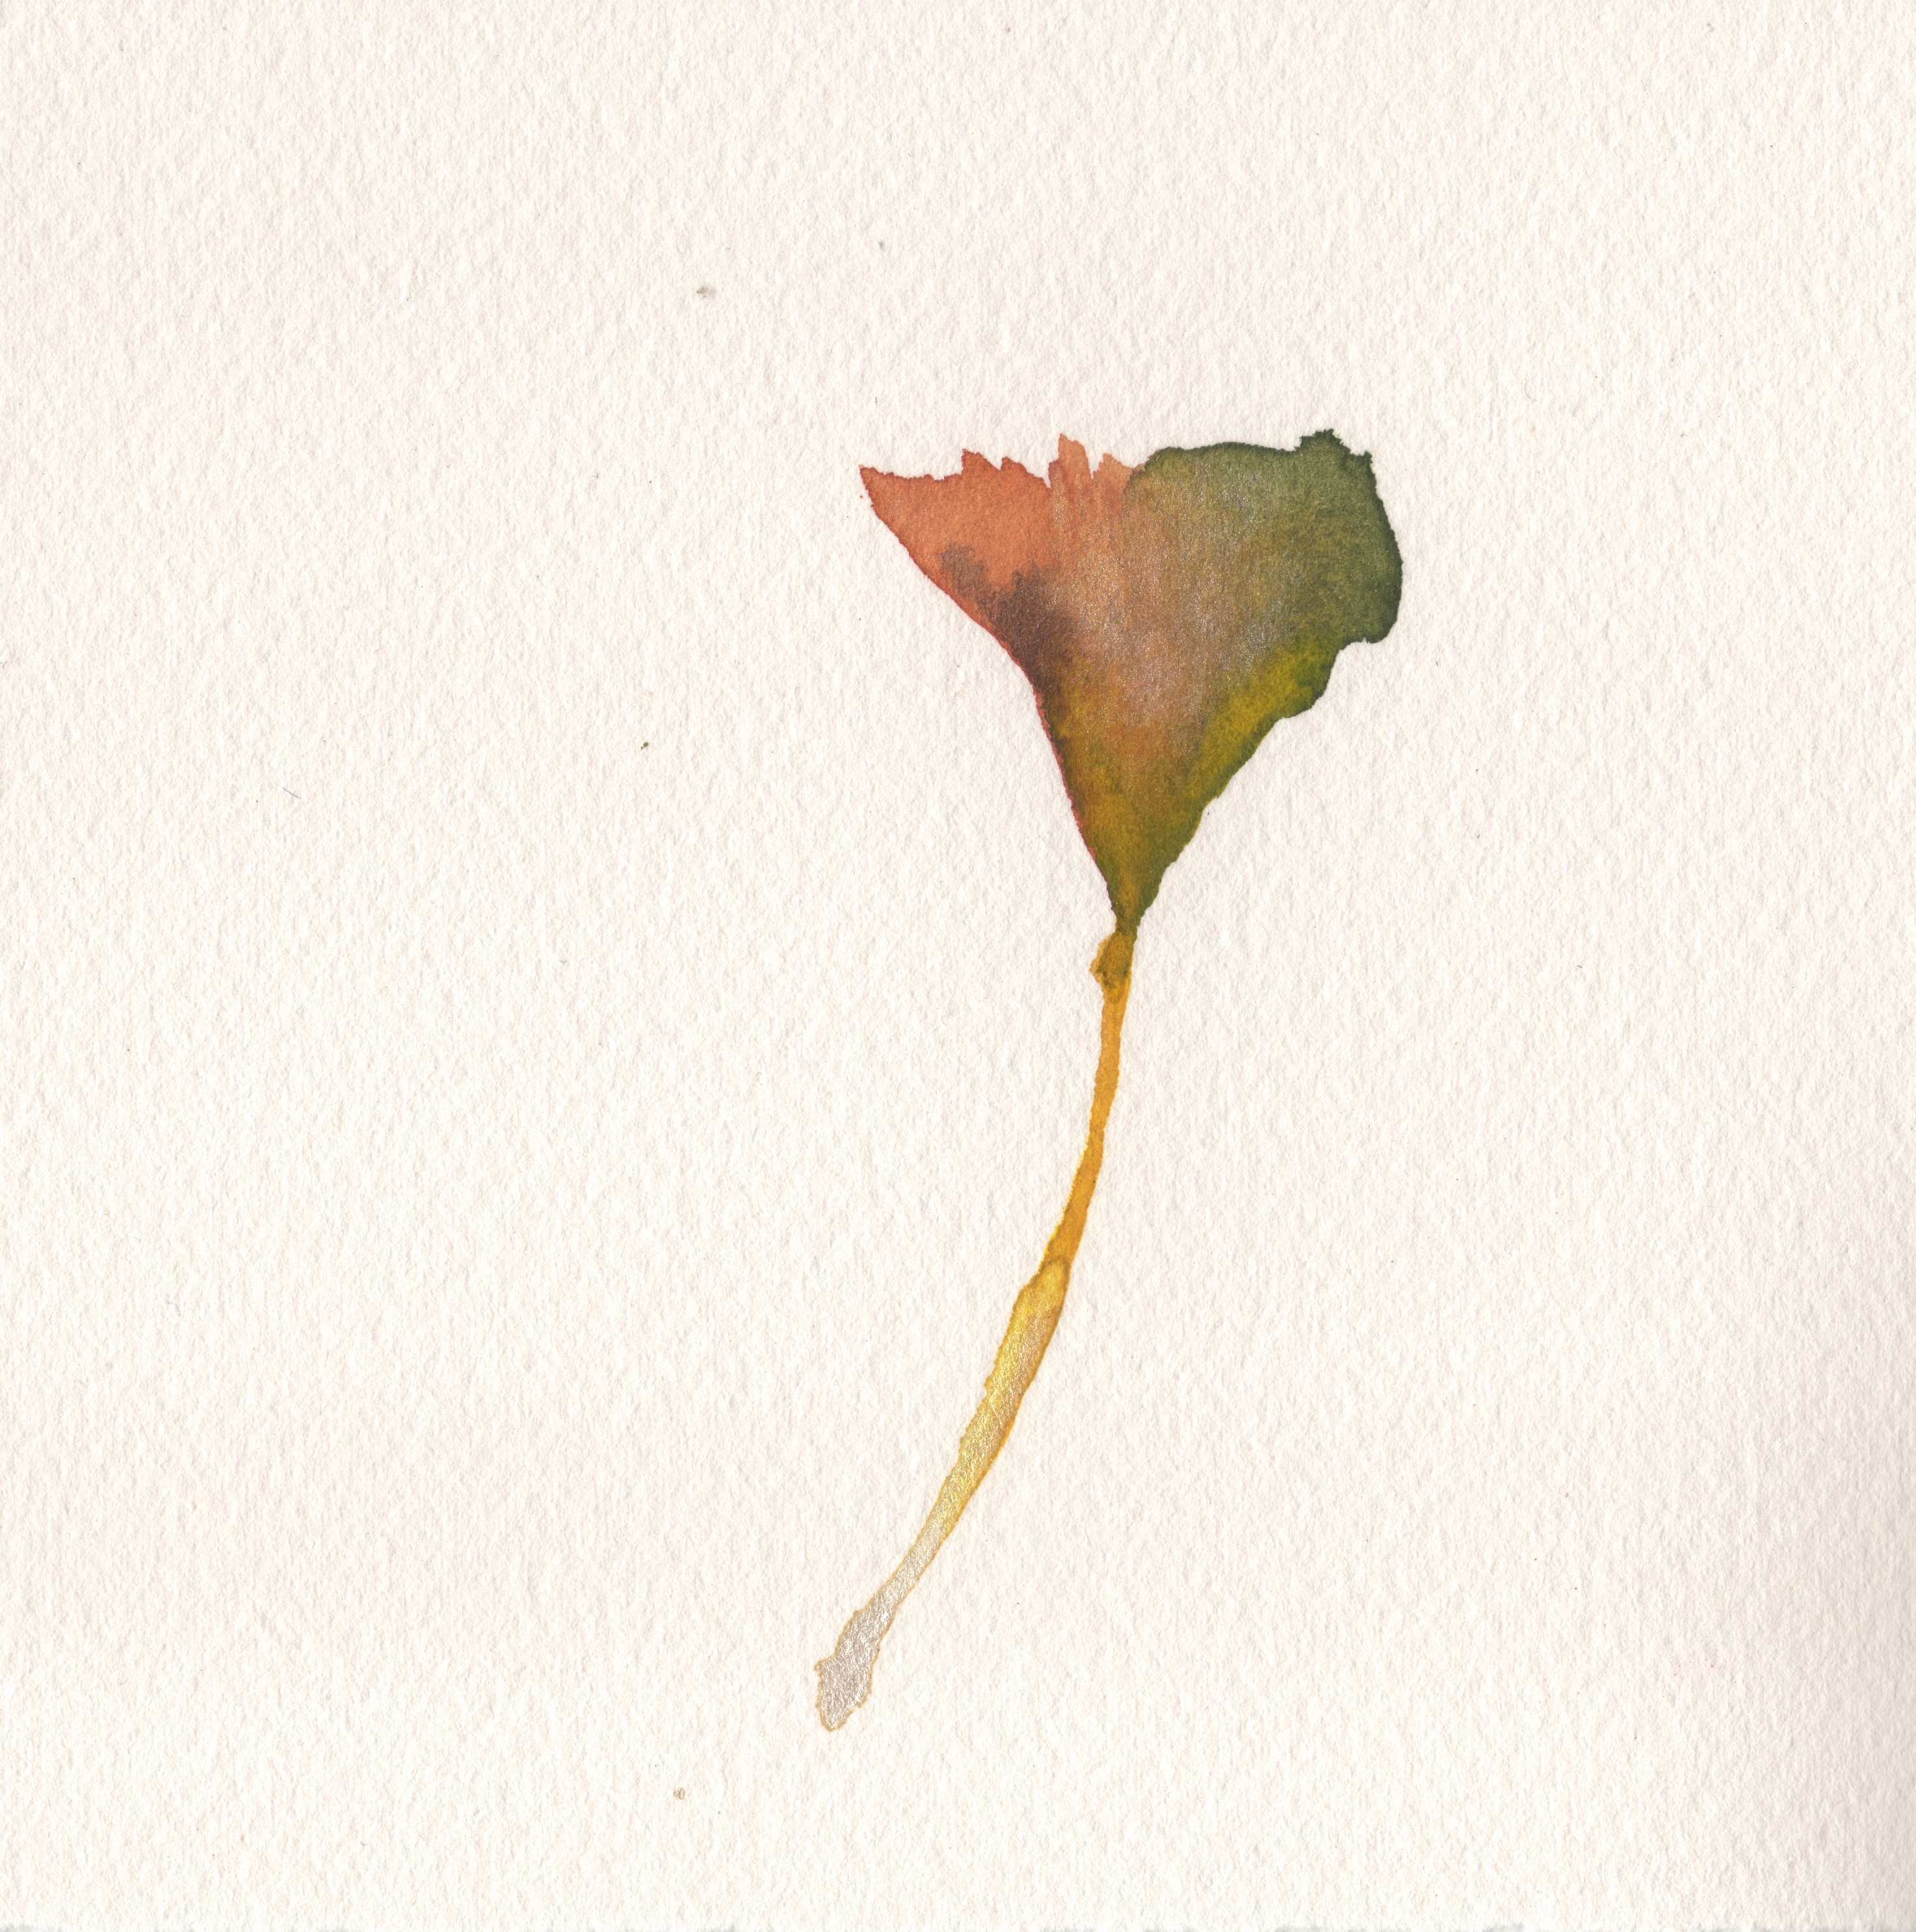
a ginko leaf that had fallen and turning brown

a dandelion that i had pressed between a book
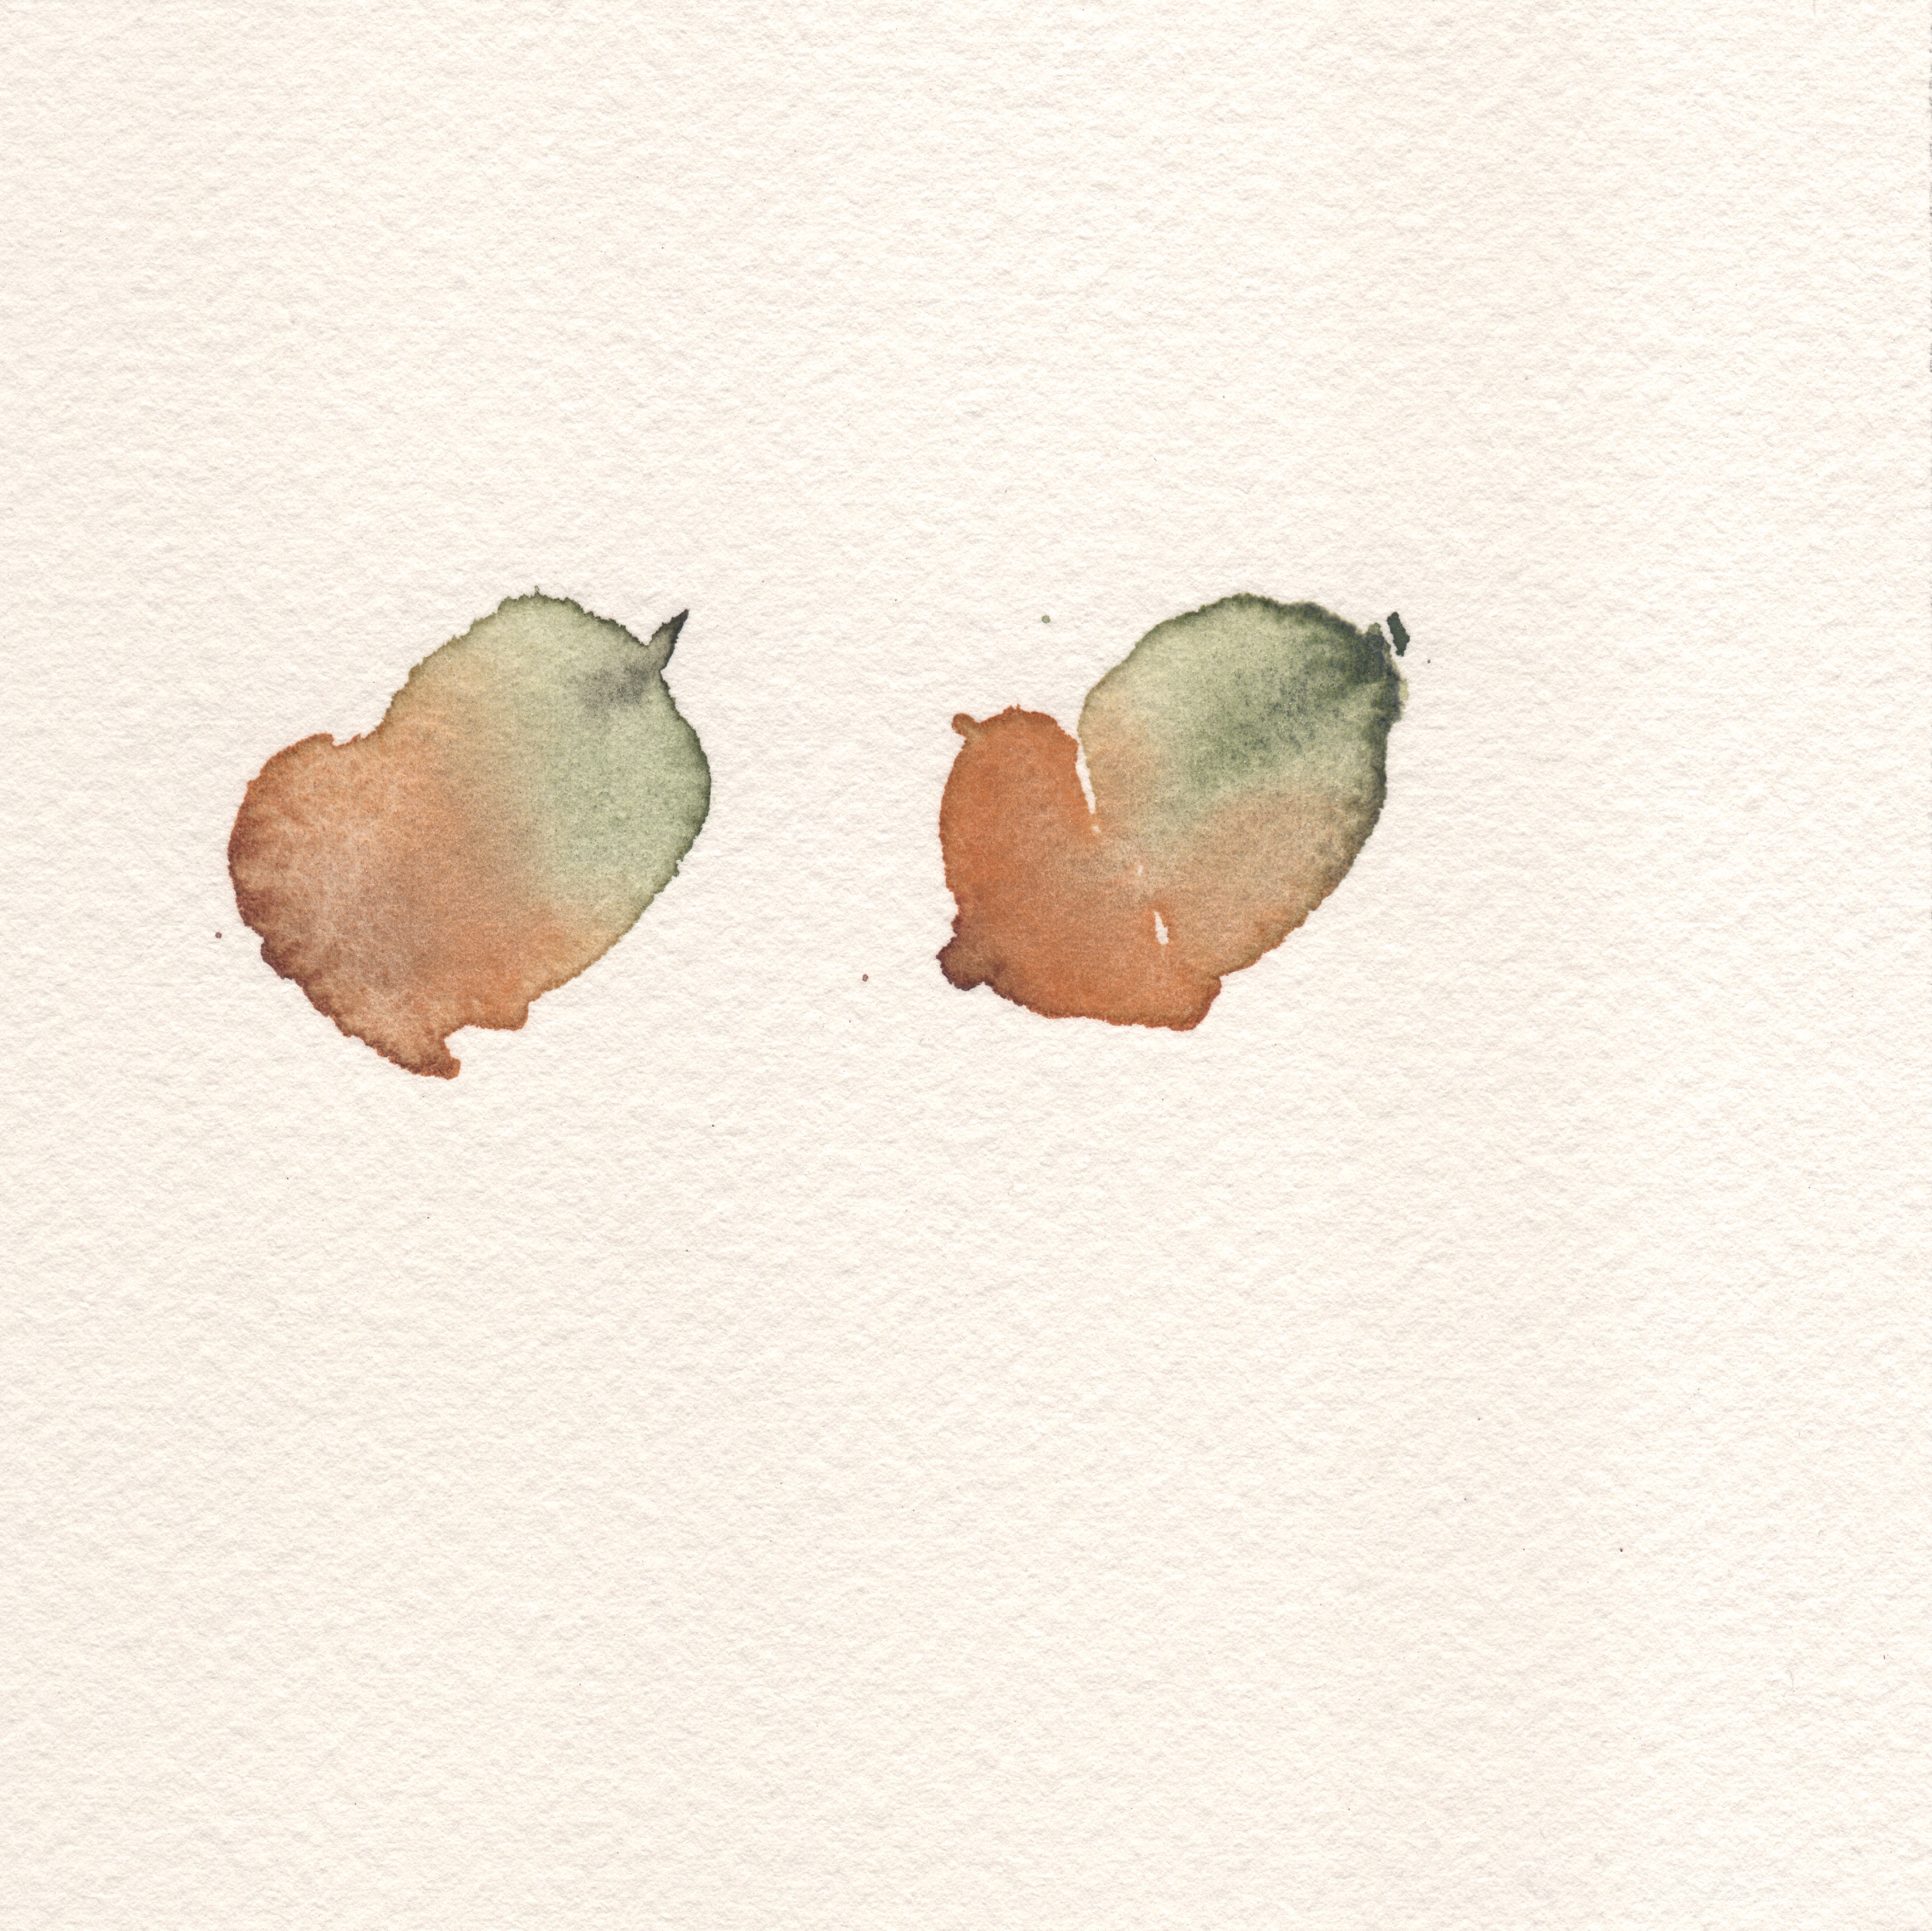
a couple of acorns Gus found on our walk to the park
watercolor on paper
5” x 5”
Comments [1]